


 ゆるる
ゆるるキャンプ用のオシャレなテーブルが欲しいな!組み立ても楽だとなお良い!
 りく
りくColemanのナチュラルウッドロールテーブルが軽くて、組み立て楽でオススメだよ!
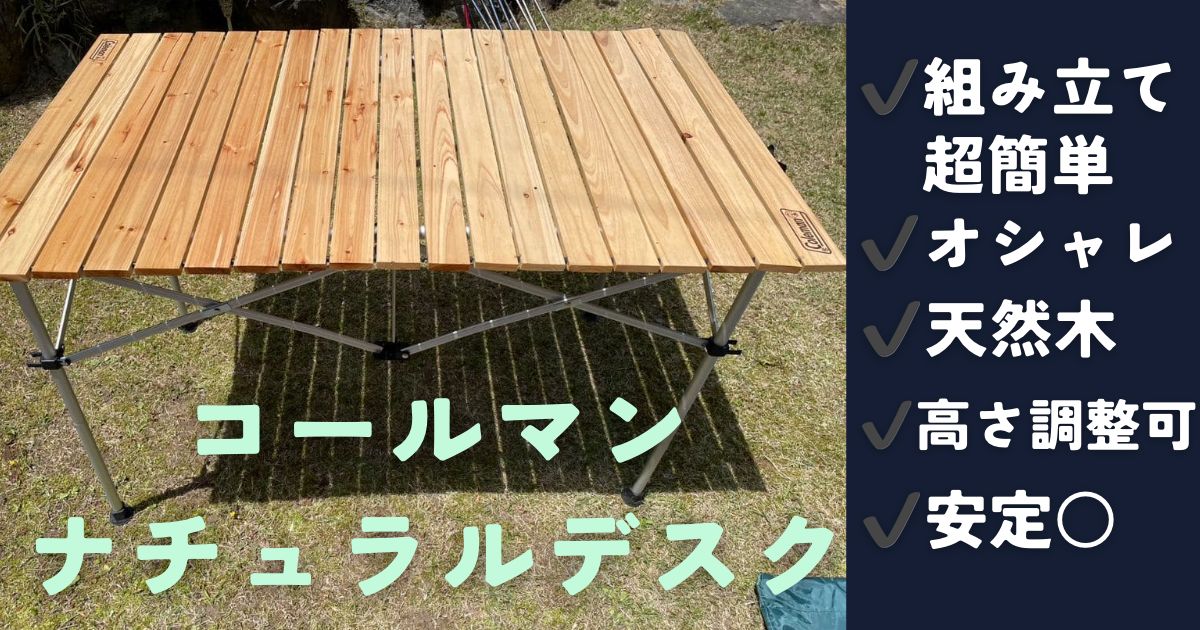
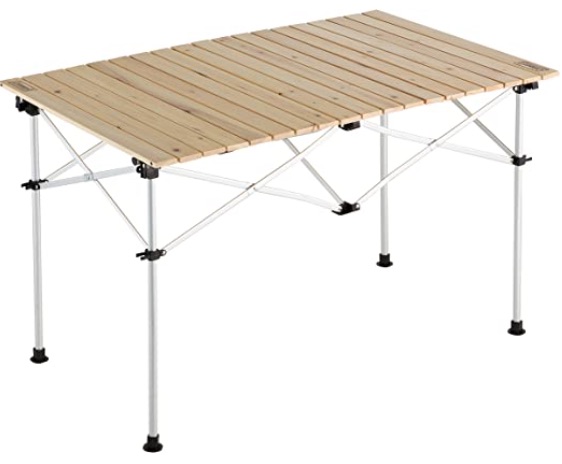
今回紹介するColemanのナチュラルウッドロールテーブルは、ナチュラル基調のウッド天板となっていて、アウトドアにマッチするオシャレなテーブルです!
組み立てもかなり楽でキャンプの準備や片付けがめんどくさいという方にもオススメできる一品となっています。ぜひ、購入を検討してみてください!
- 超簡単に組み立てができる
- 安定性良し
- 持ち運びも楽
- 高さは2段階で設定でき、ローテーブルとしても使用できる。
コールマン チュラルウッドロールテーブルの概要
 ナチュラルウッドロールテーブル | |
|---|---|
| メーカー | Coleman(コールマン) |
| サイズ | 使用時:約112×70×40/70(h)cm 収納時:約19×20×70(h)cm |
| 重量 | 約5.3kg |
| 耐荷重 | 約30kg |
| 材質 | 天然木(スギ) |
| 付属品 | 収納ケース |
| 購入する |

コールマン チュラルウッドロールテーブル内容物、外観
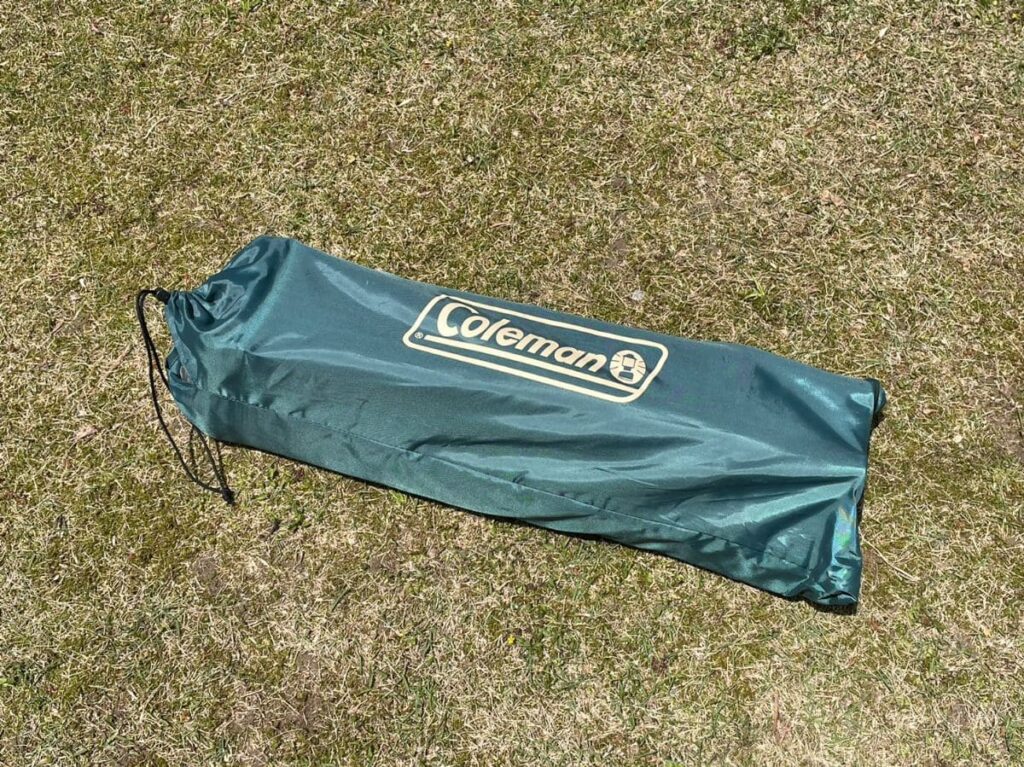
Colemanのナチュラルウッドロールテーブルには専用のケースが付属されています。
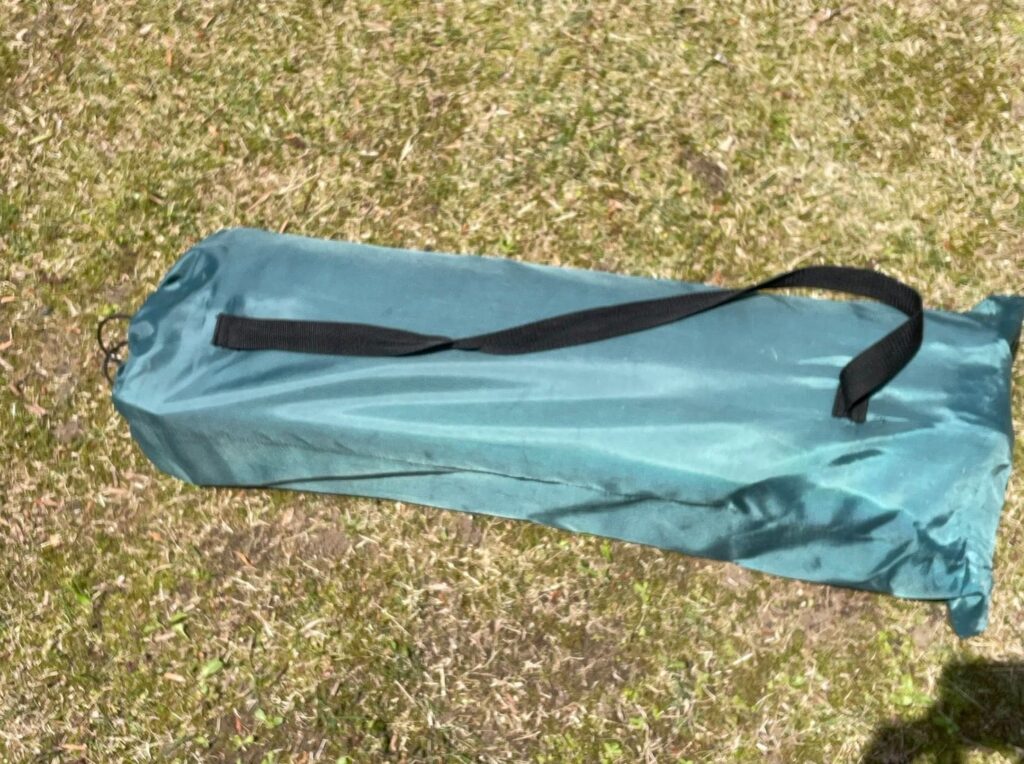
専用のケースには、スタンドとウッド天板を両方同時に収納できます。専用ケースの裏側に紐がありますので、肩にかけることによって持ち運ぶのも苦ではありません!
内容物は、「スタンド、ウッド天板、専用ケース」
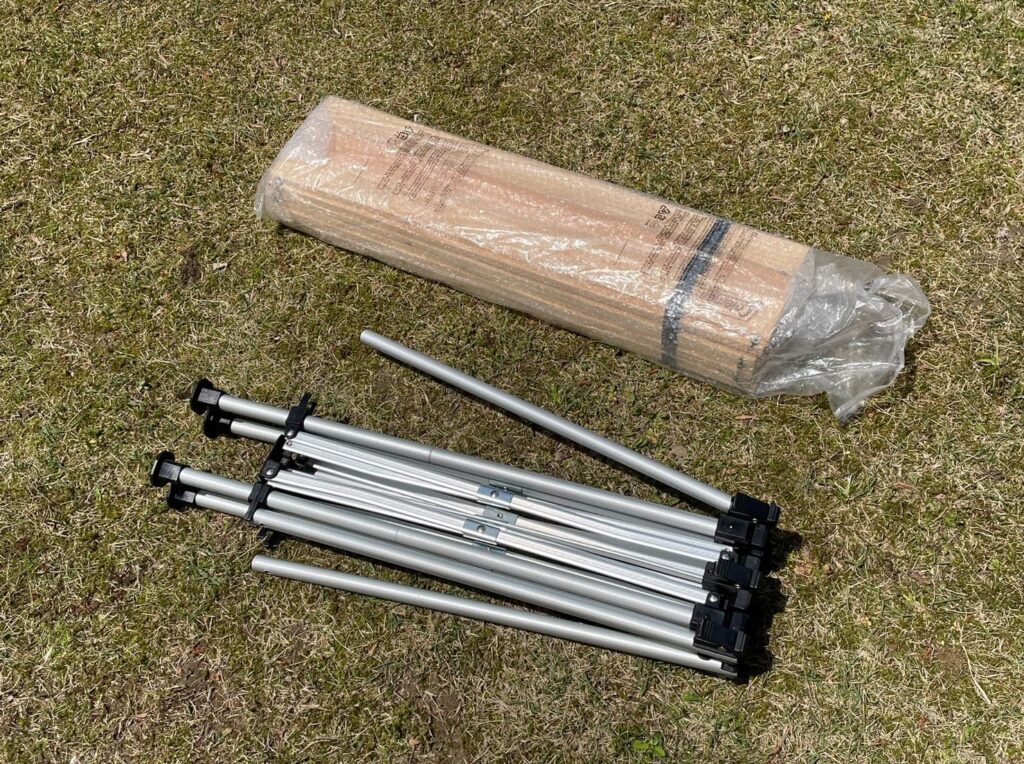
天板用のウッド天板は天然木(スギ)で木の香りがします。表面はツルツルした感じで肌触りも良いです!
【1分以内に組み立て】とにかく組み立てがすっごい楽!
実はこのColemanのナチュラルウッドロールテーブルは面倒くさがりの私にとっては神のようなテーブル。
組み立て時間は慣れれば1分もかかりません。
 ゆるる
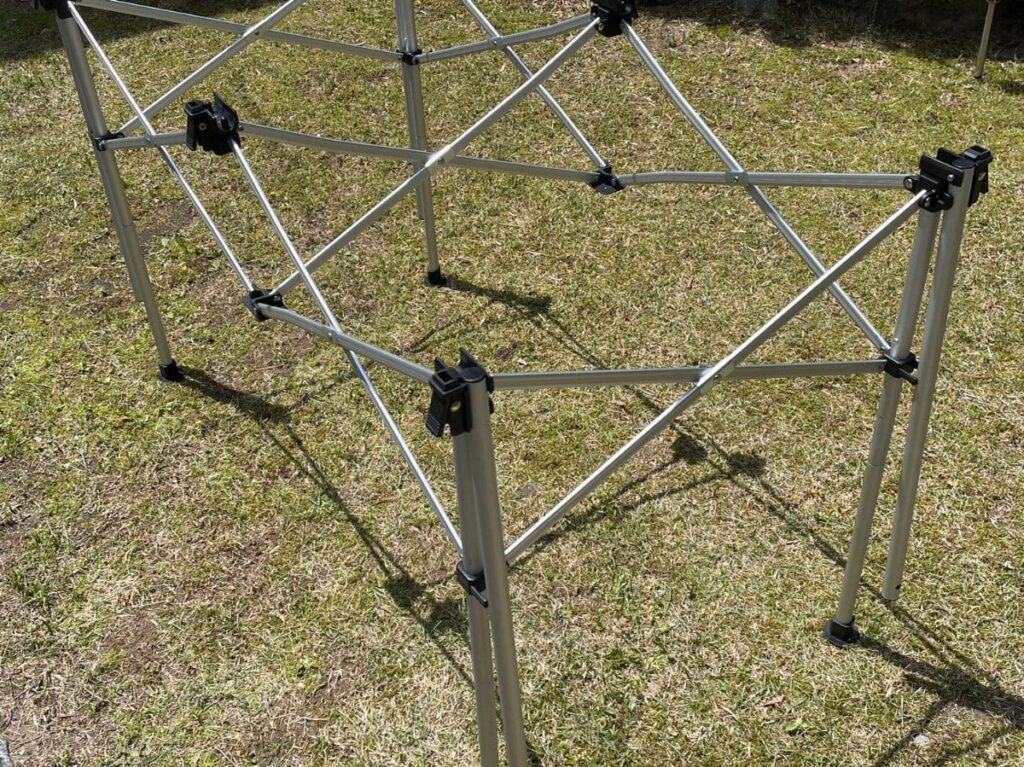
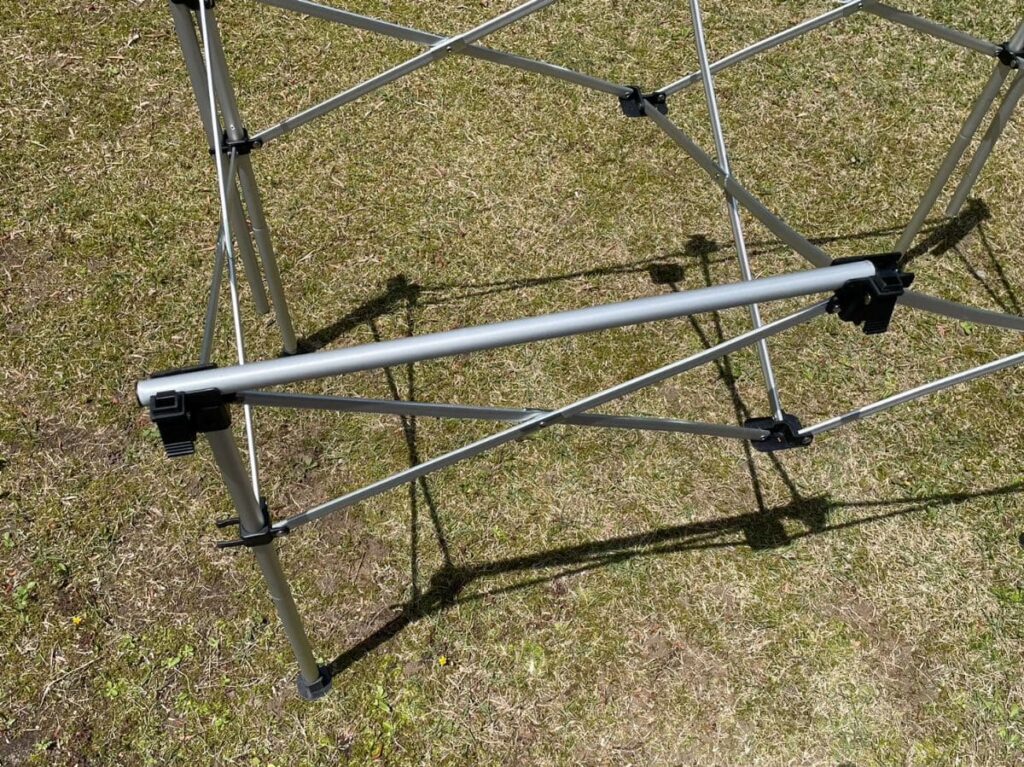
ゆるるスタンドを広げて、嵌めて、乗せて、嵌めて・・完成!
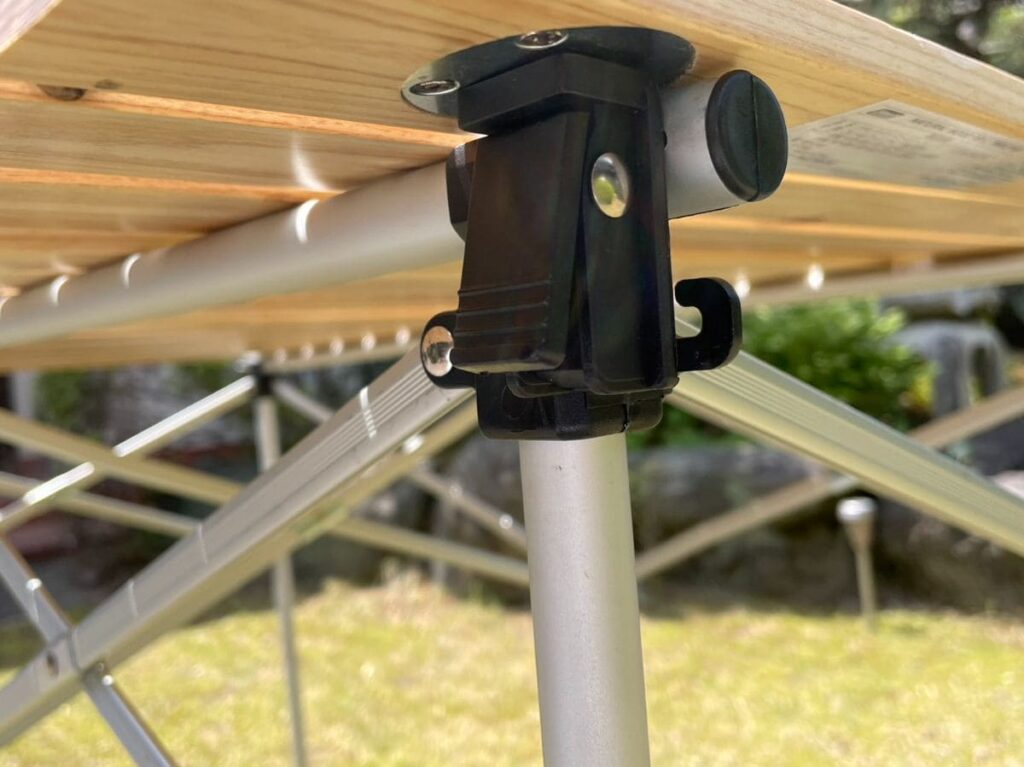
組み立て時
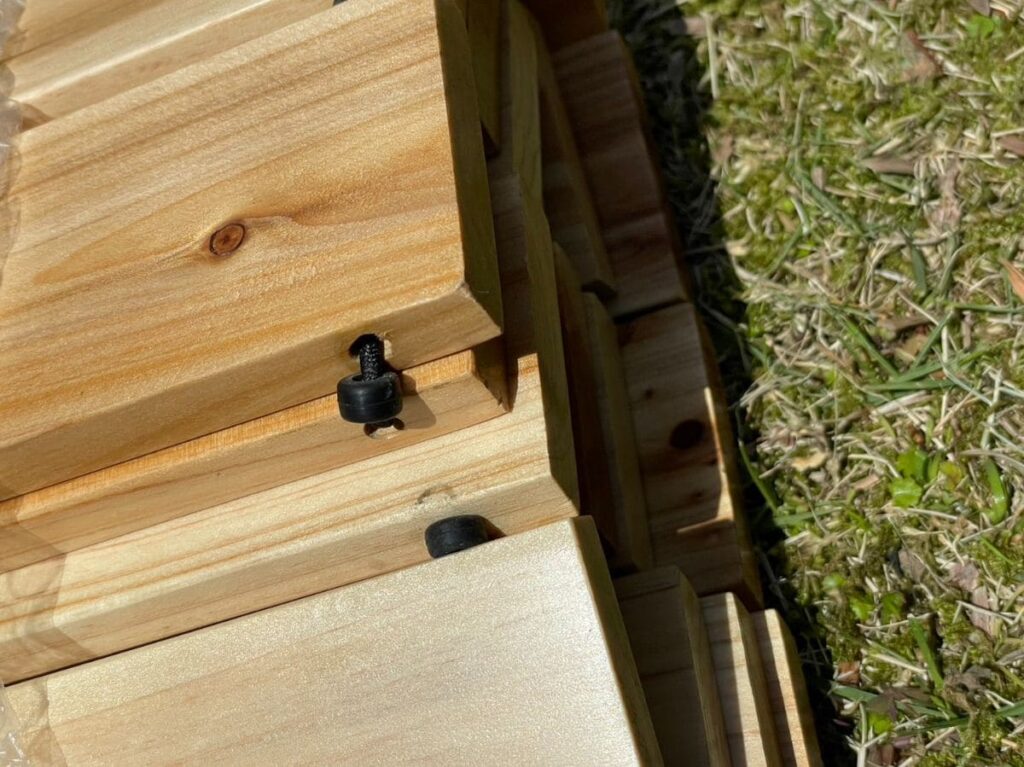
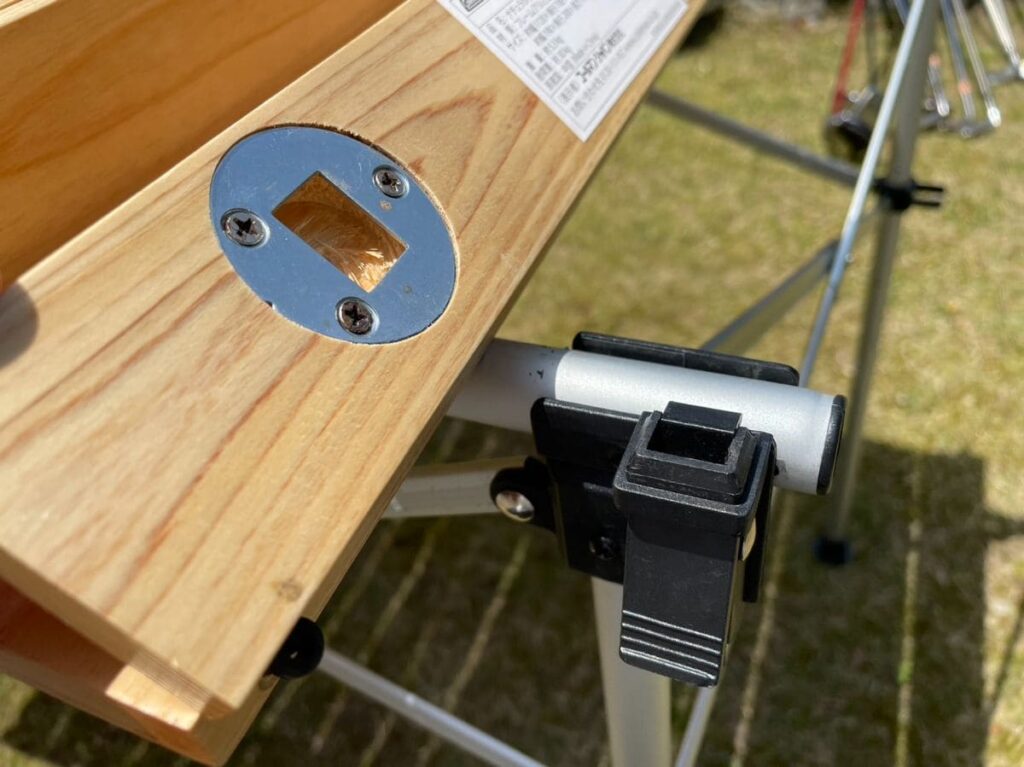
ウッド天板の裏側6箇所に穴があるので、スタンド側の凸の部分と結合させ、天板上から押してはめ込み固定させます。これで天板とスタンドが一体化します。
 ゆるる
ゆるる完成です!
 りく
りくはやっ!めっちゃ簡単だね。
片付け時
6箇所の結合部にある黒い部分を押し込むとウッド天板からスタンドが外れます。

あとは組み立てした時と反対の手順で簡単に片付けられます!
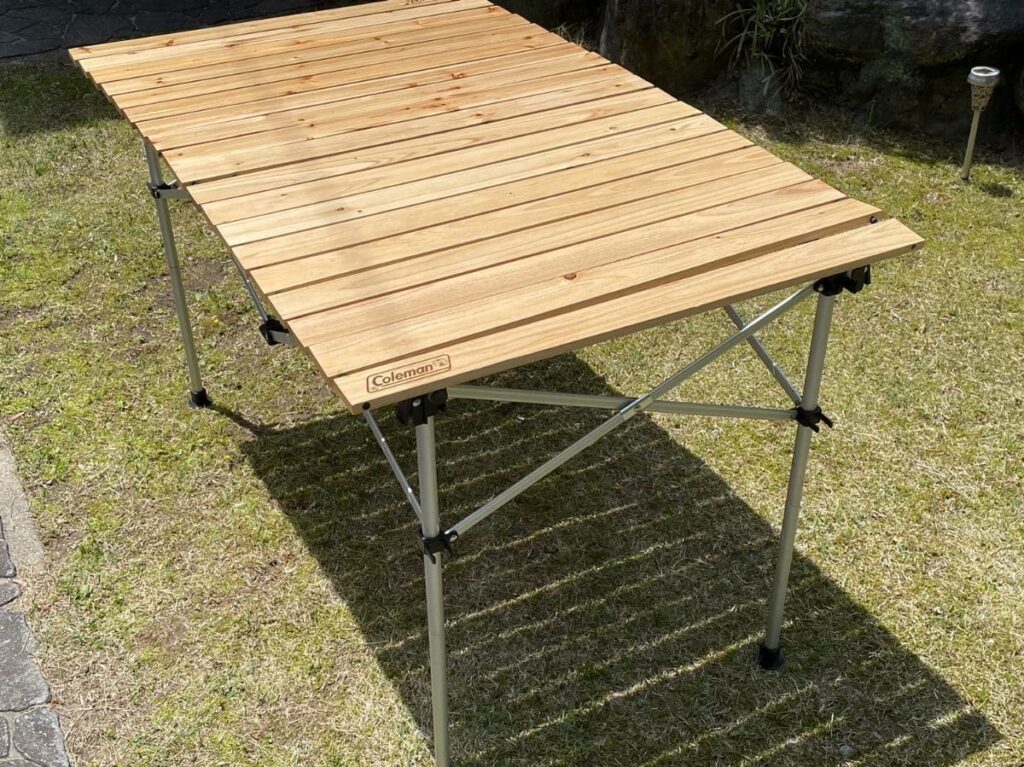
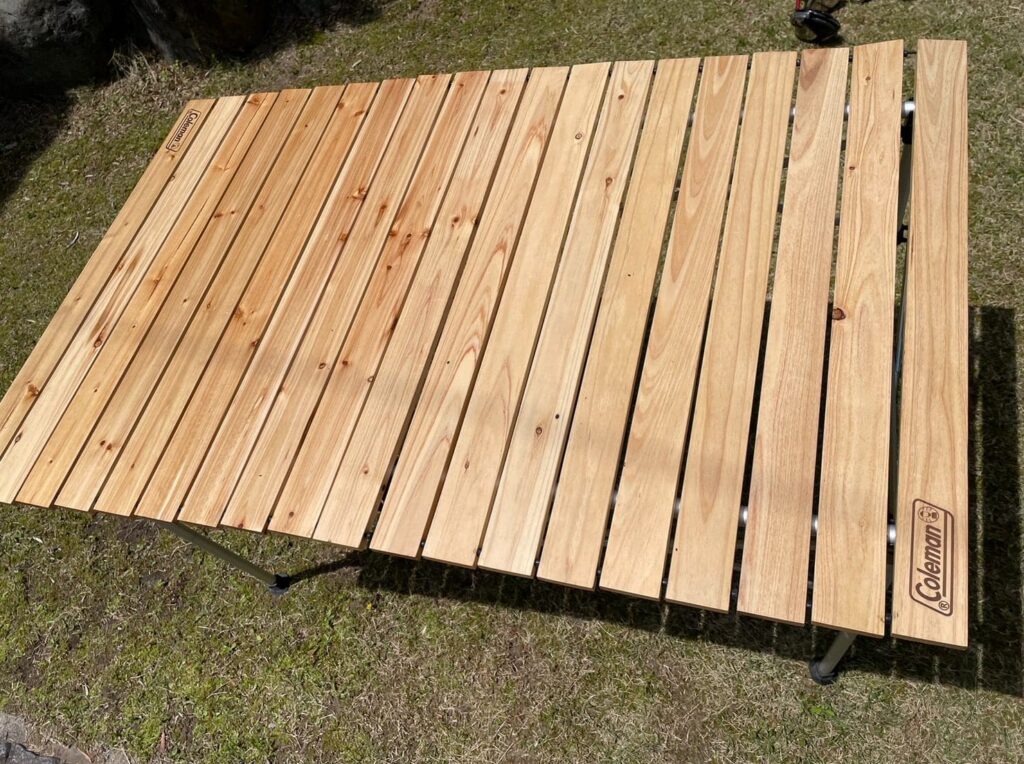
テーブルの大きさは110cm!ソロ〜最大6人程度まで使えそう
天板の広さは110cm×70cmであるので、ソロ〜最大6人程度までであれば使用できそうな広さです。
ゆるる若干、ソロだとでかいかもしれません。
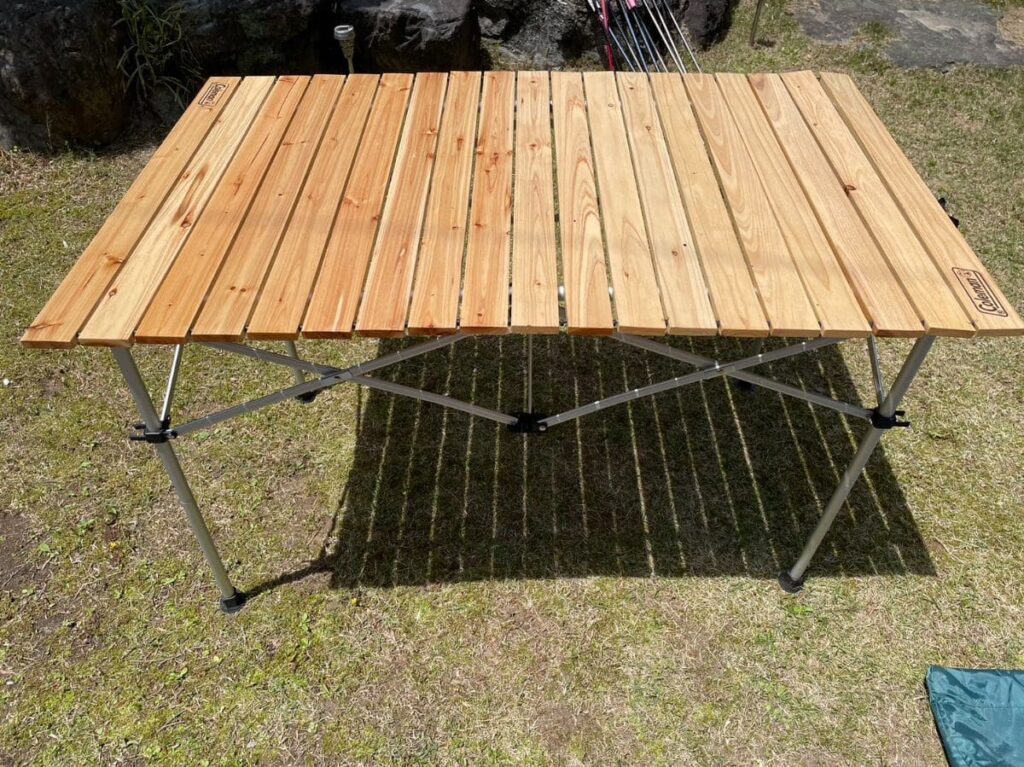
テーブル高さは2段階で調整可。ローテーブルとしても利用可能
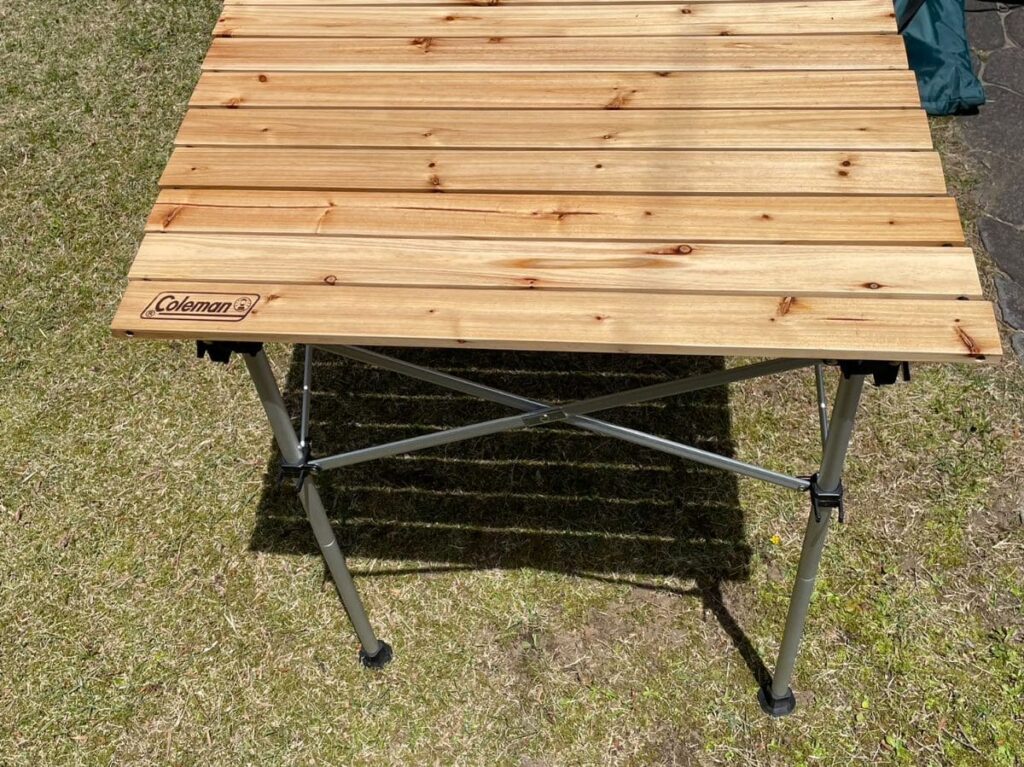
上の写真は高さ70cmで組み立てていますが、高さを40cmに調整することも可能です。そのため、ローテーブルとしても使用することができます。
ゆるるレジャーシートの上とかに置くのが良いかも!
耐久性◯ ぐらつきは気にならない
作りや組み立てが簡単なのでテーブルがグラつくのでは?と思う方もいらっしゃると思います。強くゆするとさすがに少しはぐらつきます。
しかし、普通に使う分には全然気にならない程度なので特に問題になることはなさそうです!
ゆるる結構、丈夫なんだね!
コールマンナチュラルウッドロールテーブル まとめ
Colemanのナチュラルウッドロールテーブルは魅力的なデザインの組み立てが簡単な万能なテーブルです。
これからキャンプを初めてみたい人やバーベキュー用の新しいテーブルをお探しの方には是非ともオススメしたいです!
- 組み立て作業が嫌いな人
- オシャレな道具を揃えたい人
- キャンプやバーベキューを始めたい人