

 ゆるる
ゆるるテント泊したい!!
 りく
りくそれなら超安定のモンベルのステラリッジテントだね!
山岳用テントで絶大な人気を誇るモンベルのステラリッジテント2を購入してみましたので簡単にレビューしていきたいと思います。
設営の様子やテント内部など写真多めでご紹介していきます!
- モンベルのステラリッジテント2の特徴
- 実際に設営してみた
- テントの内部と外観
ステラリッジテント2の概要・仕様
| 項目 | 仕様 |
|---|---|
| 商品詳細 | 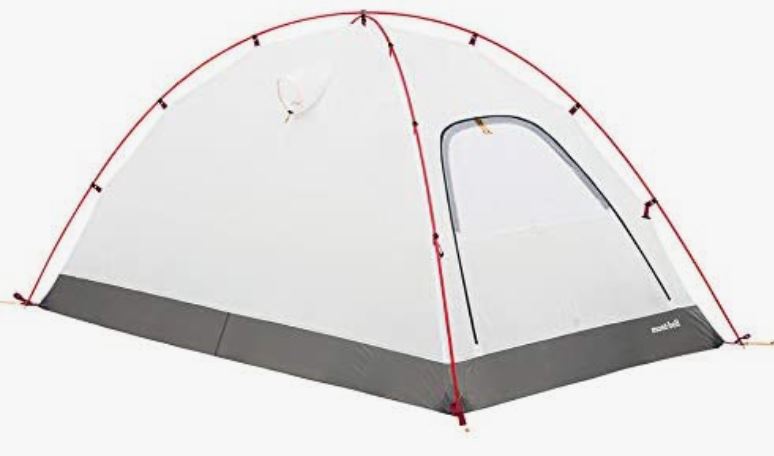 ステラリッジテント2 |
| 品番 | #1122649 |
| フロア | 30デニール(耐水圧1500mm) |
| 本体重量 | 1.08kg 1.43kg(フライシート込) |
| 付属品 | ポール、ペグ、ペグ用の紐 |
| 使用人数 | 1~2人 |
ステラリッジテントはレインフライを含めても本体重量が1.43kgと超軽量の山岳用のテントです。
ゆるるペグ用のハンマーやレインフライ、グランドシートは別売りですよ~。


モンベルステラリッジの特徴
テントとは思えない程の軽さ
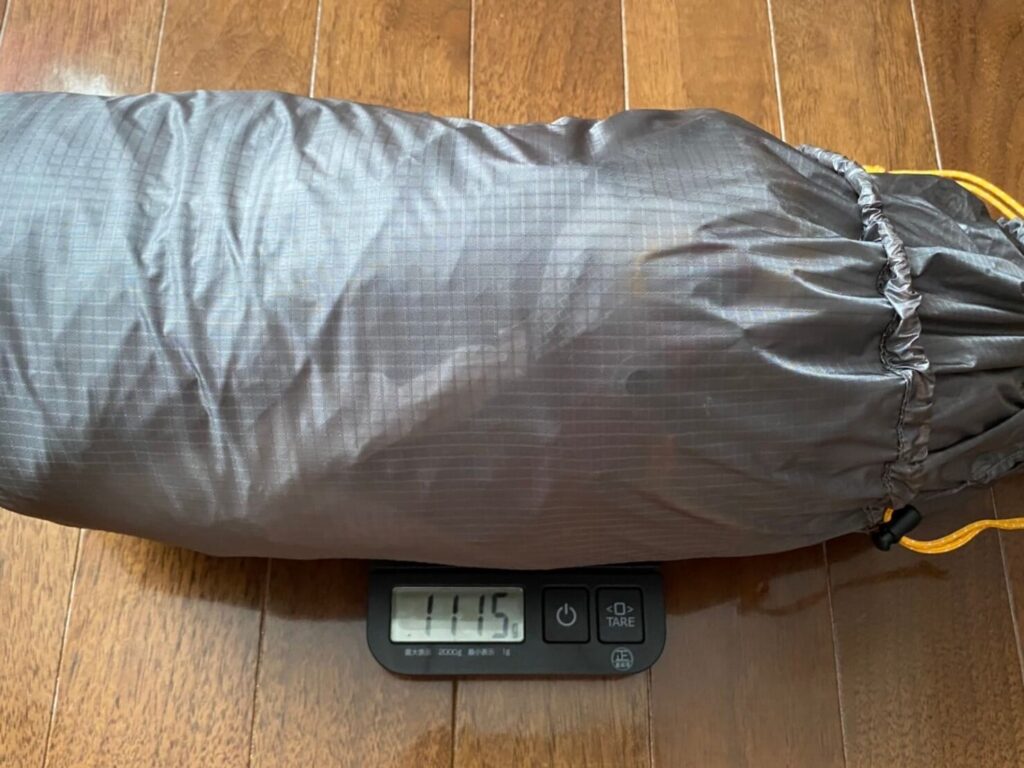
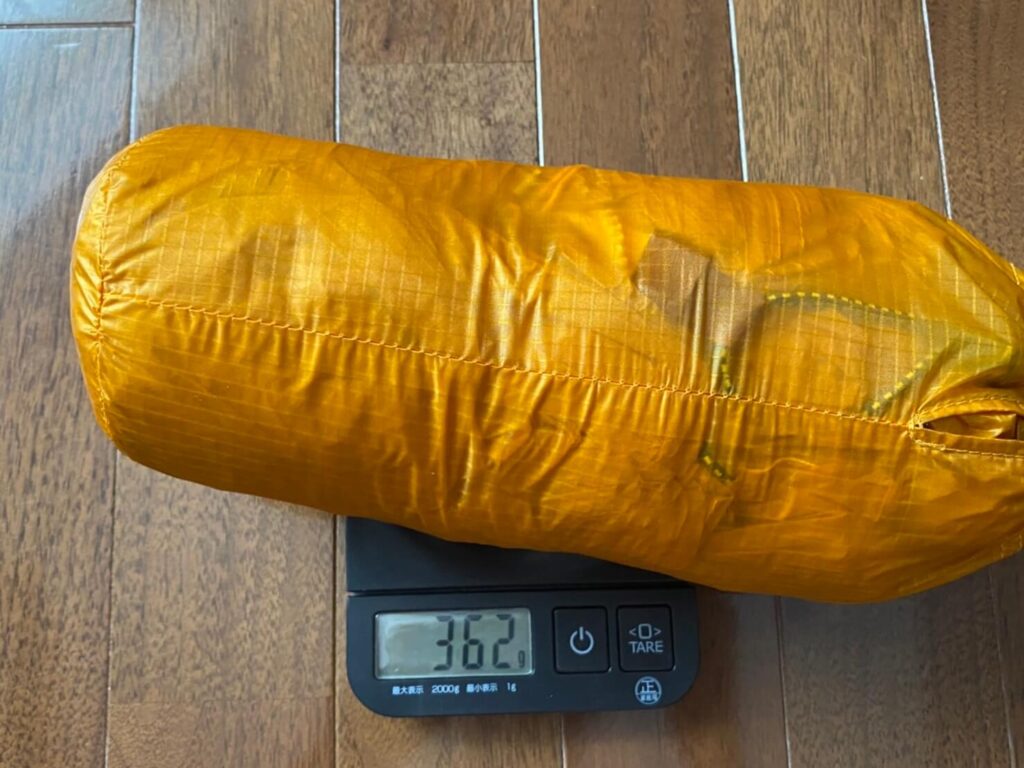
ステラリッジテントの重量はフライシートを含めて1.41kg。
実際持ってみると分かりますが、本当にテントが入ってるの!?と思うくらい軽いしコンパクトです。
ゆるる実測は以下の通り。
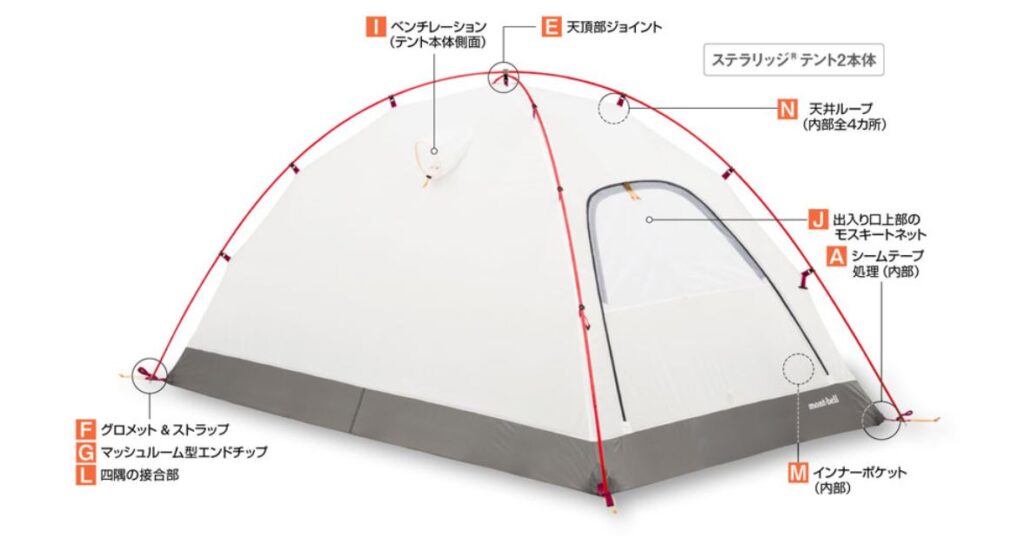
優れた耐風性
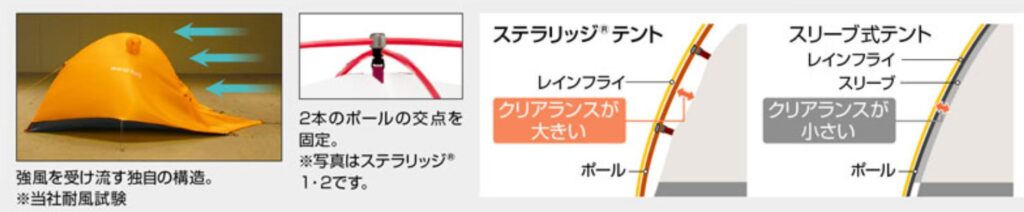
2本のポールの交点が固定されていることによりテント本体と連動して風を受け流しています。これにより、優れた耐風性を実現しています。
そのため、風が強くなる標高が高い山でも対応したテントになっています。
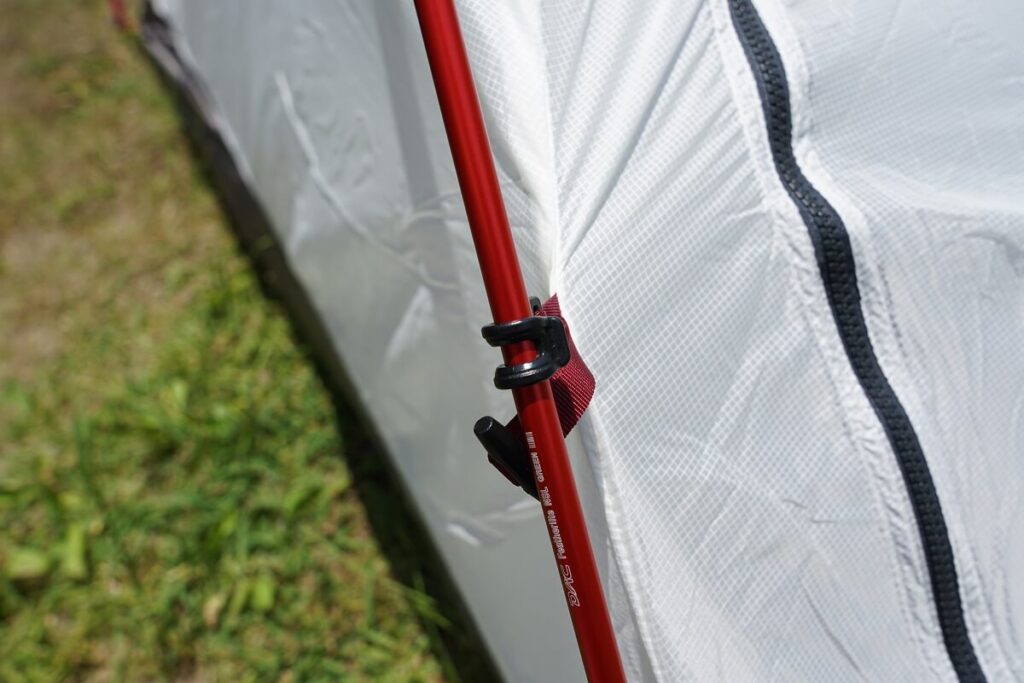
吊り下げ式構造
ステラリッジテントの特徴の中で個人的にもっともよかった点です。
テント=めんどくさい というイメージがずっとありましたが、これによりテントを設営するのがとても楽しくなりました。
吊り下げ式構造になっているため、設営・収納が非常に簡単となっています。こちらについては後でご紹介します。
吊り下げ式構造は2019年以降のステラリッジテントのみです。
ステラリッジテント2開封・設営してみた
ゆるる注:僕自身はテントの設営はほとんどやったことない素人です。
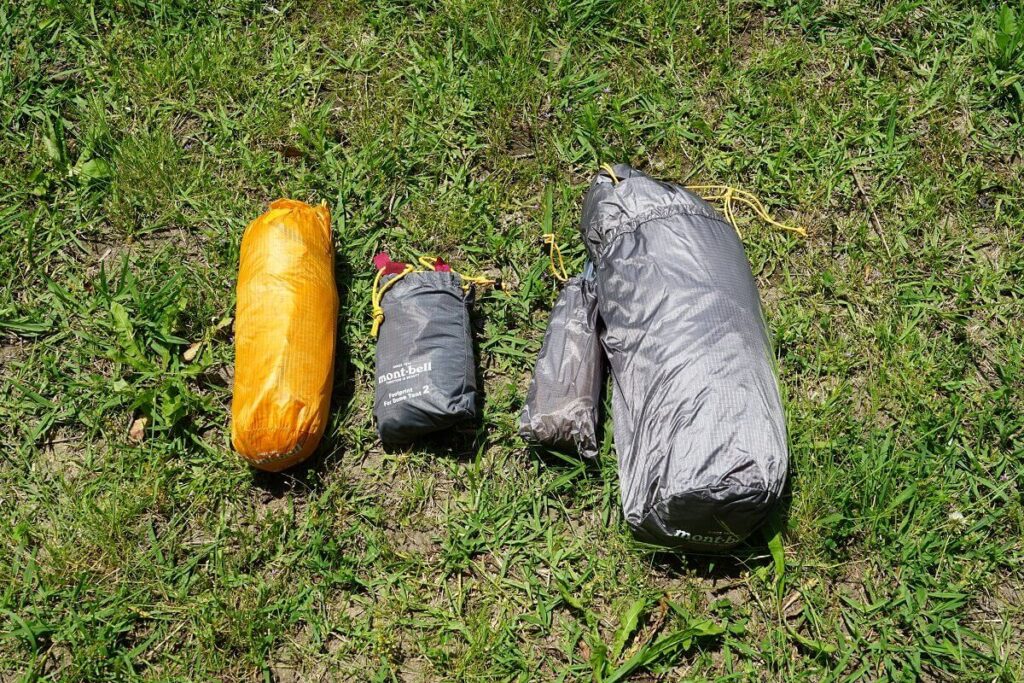
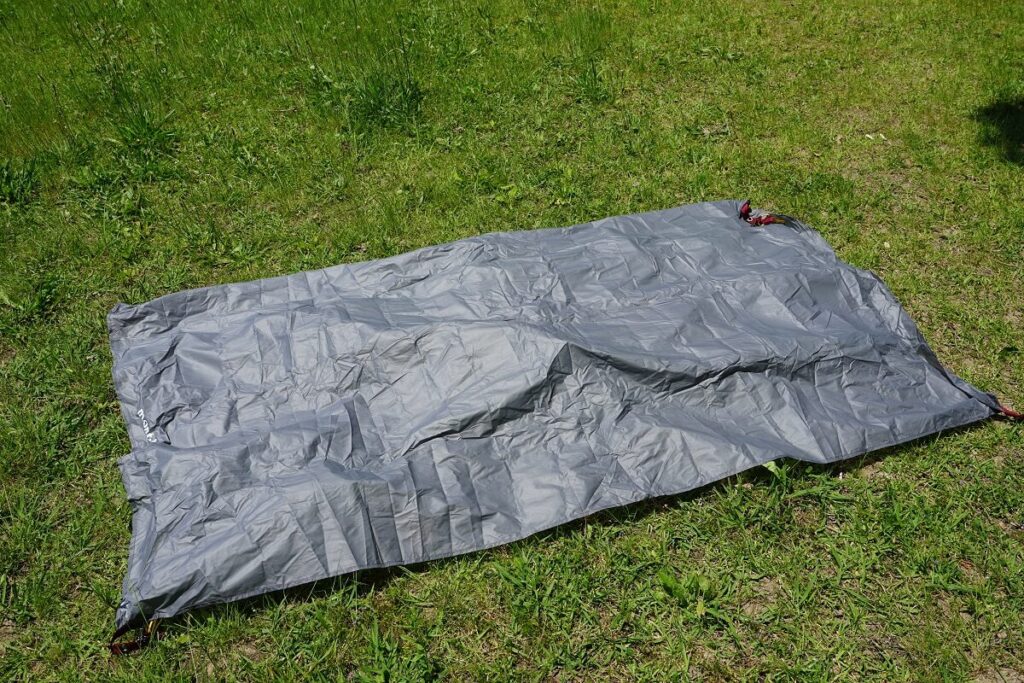
左側から専用のフライシート、グランシート、ステラリッジテント2本体です。
まずシート本体を広げます。

続いてポールを組み立てます。ポールは折りたたむことが出来るので非常にコンパクトに収納出来ます。
ポール自体はステラリッジテント2の付属品です。
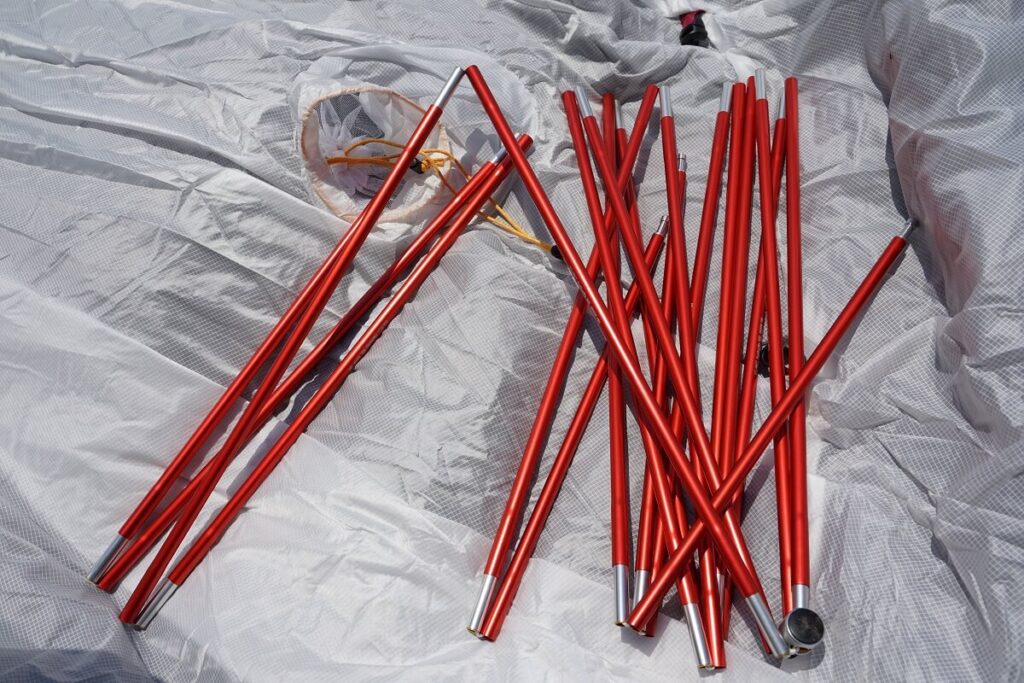
ポールの接続は折曲がっている部分を連結するだけなので非常に簡単。
特に工具も必要ありません。
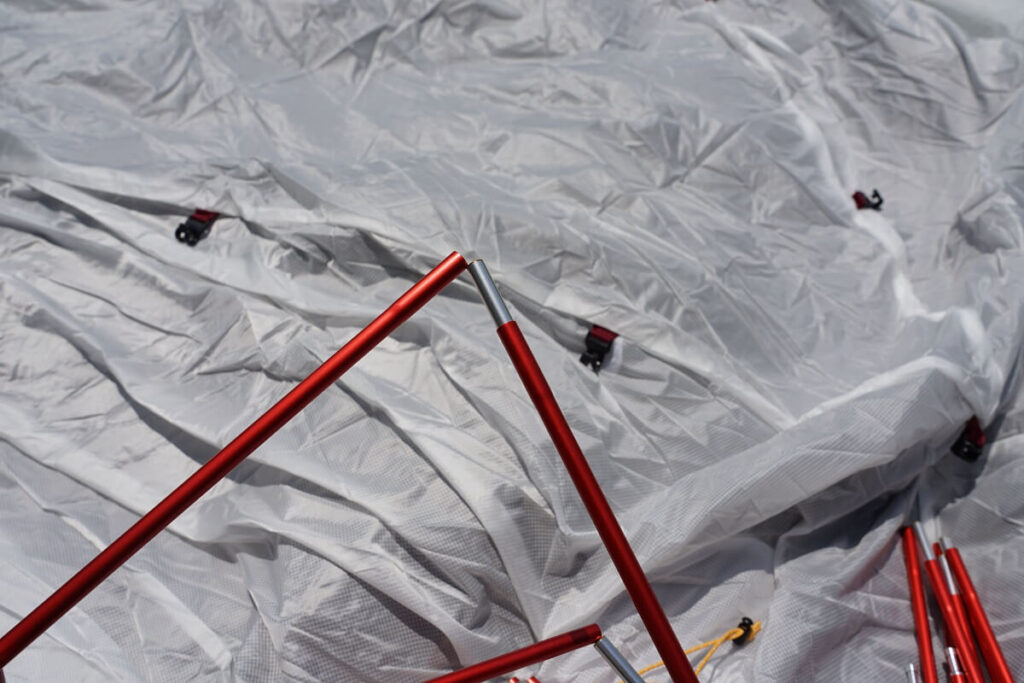
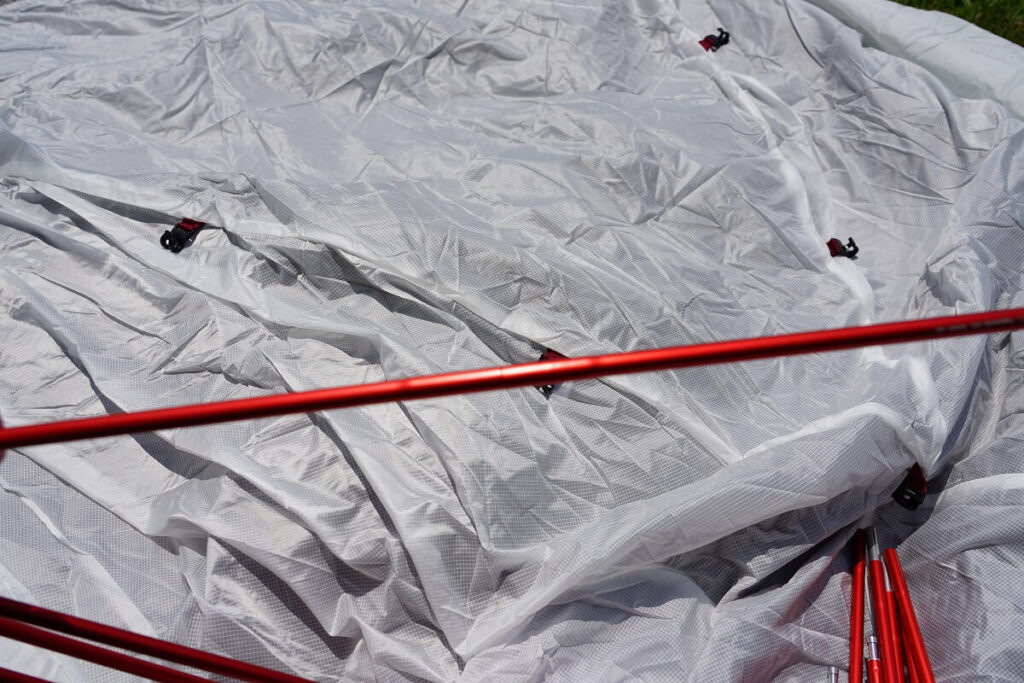
接続が完了したポールをテント本体に取り付けます。取り付けは天頂部のフックにはめ込むだけです。

ポールとテントの固定はポールフックにはめ込むだけです。(以前まではポールフックにポールを通す必要があったそうです。)
 ゆるる
ゆるるテントが完成しました!初心者でも5分程度で組み立てられました驚き。
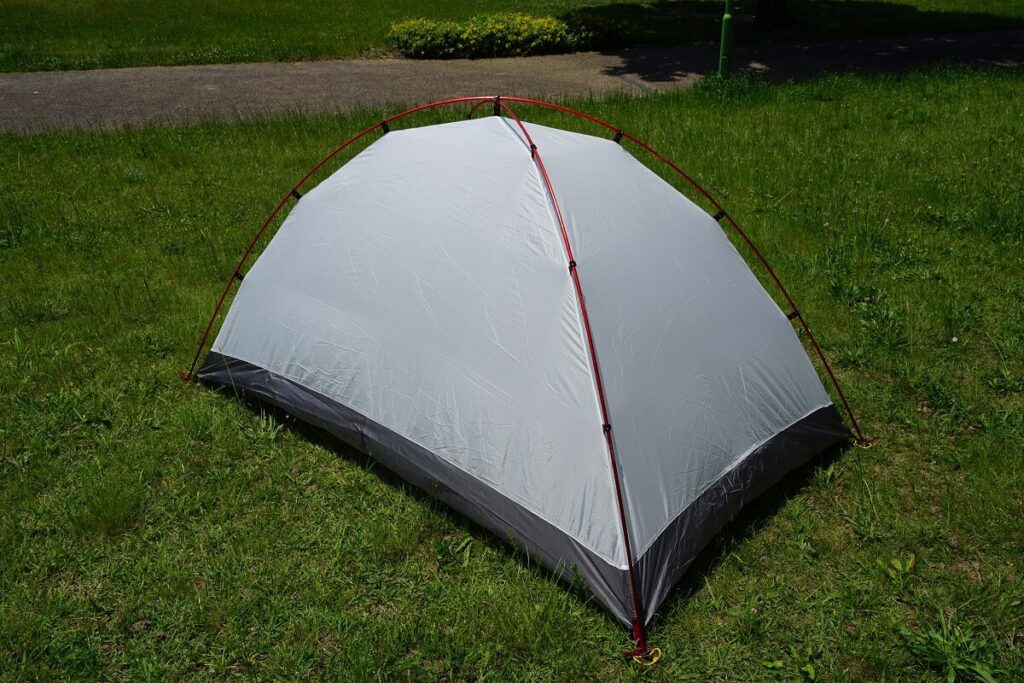

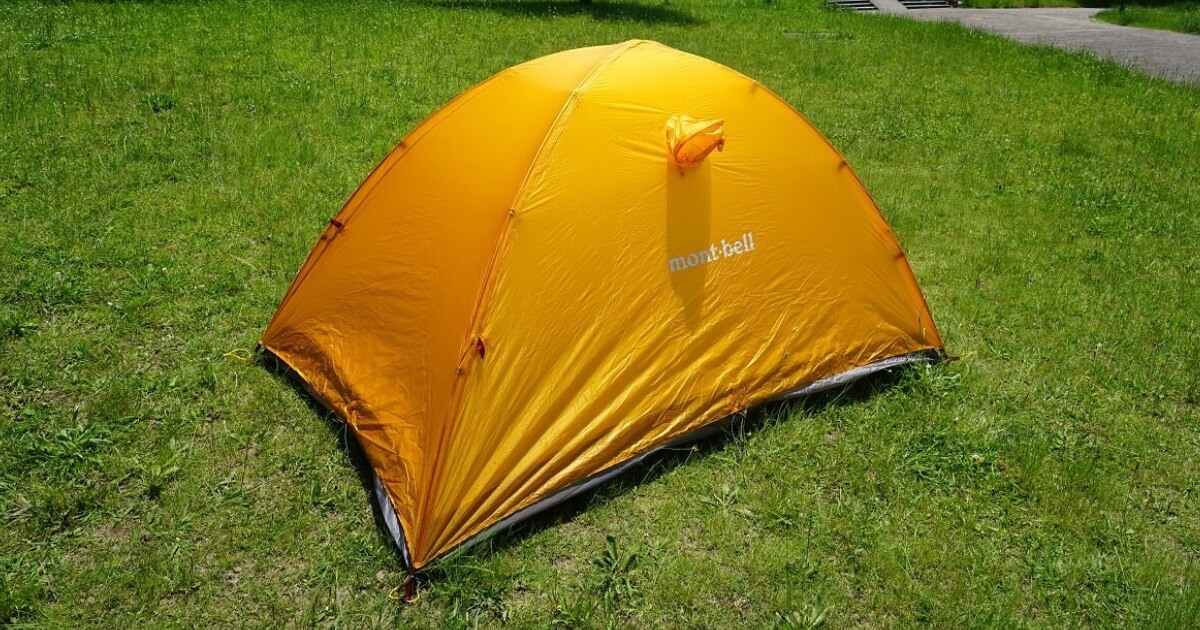
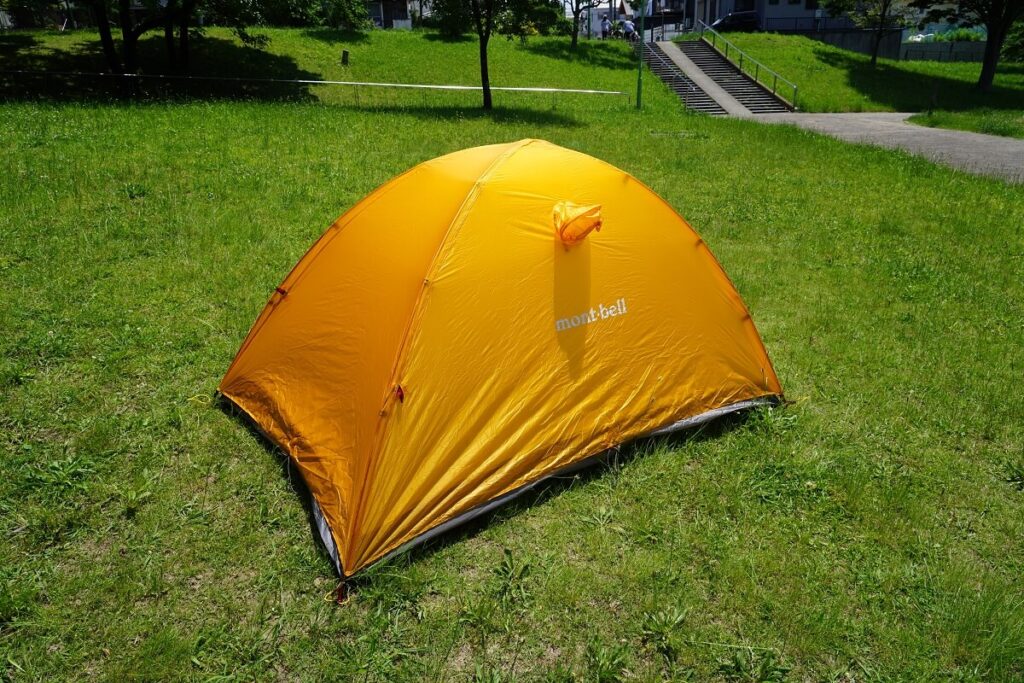
別売りのレインフライ(イエロー)を取り付けて完成です!
わー!テント泊の写真でよく見るテントですね~。このイエローがとても可愛いです。
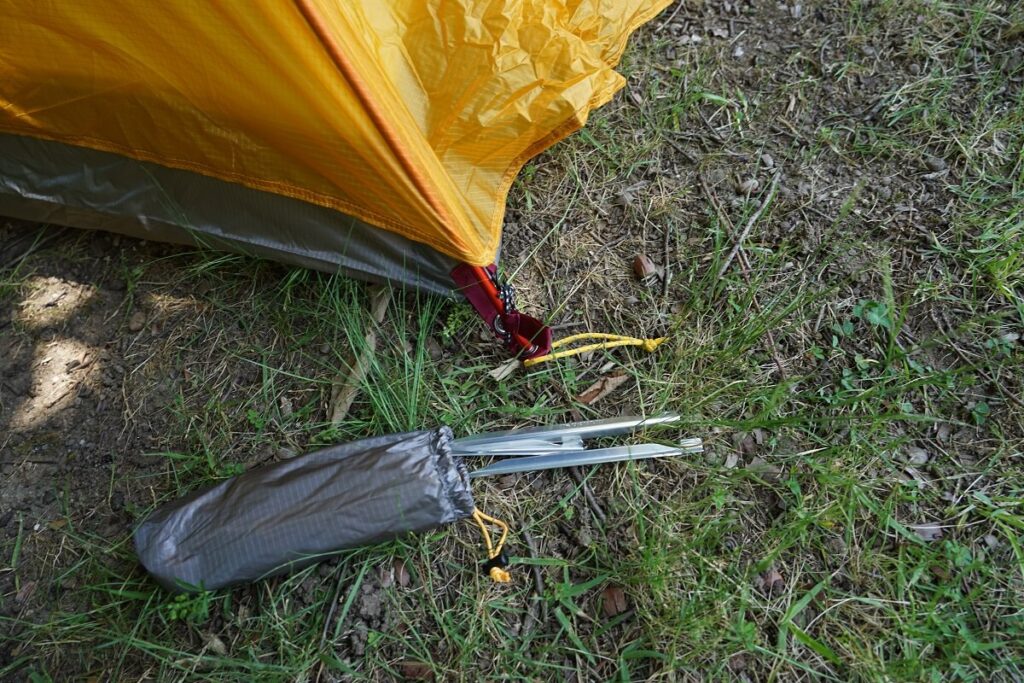
今回はペグを使用しておりませんが、ペグはステラリッジ本体に付属されています。
ペグ本体はかなり軽く、ここまで軽量化が考えられているのでしょう。
グラウンドシートはテント下に敷く補助用のシートです。
なくても問題はありませんが、岩がゴツゴツしているところではシートの破れ等を保護するためにあったほうが良いですね。
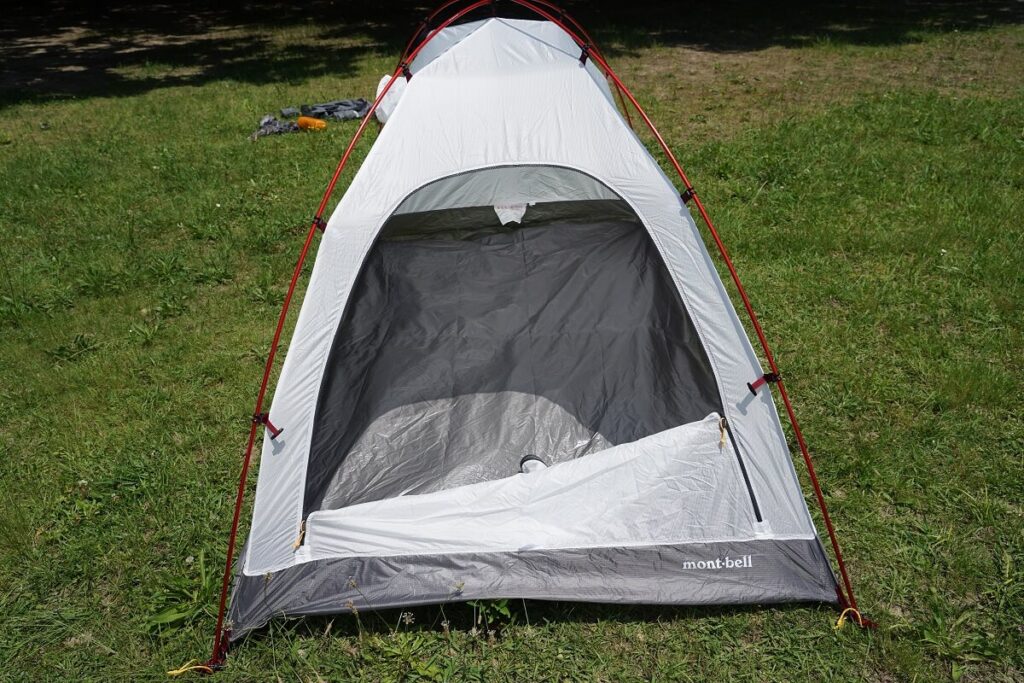
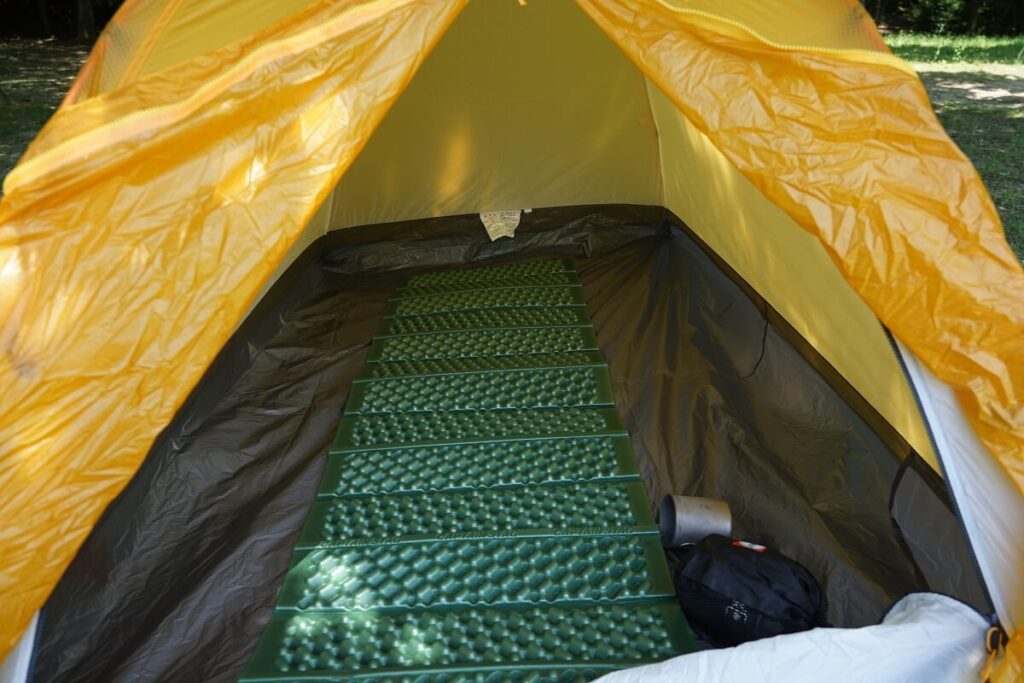
ステラリッジテント2の内部
続いて軽くステラリッジテント2の内部を見ていきましょう。
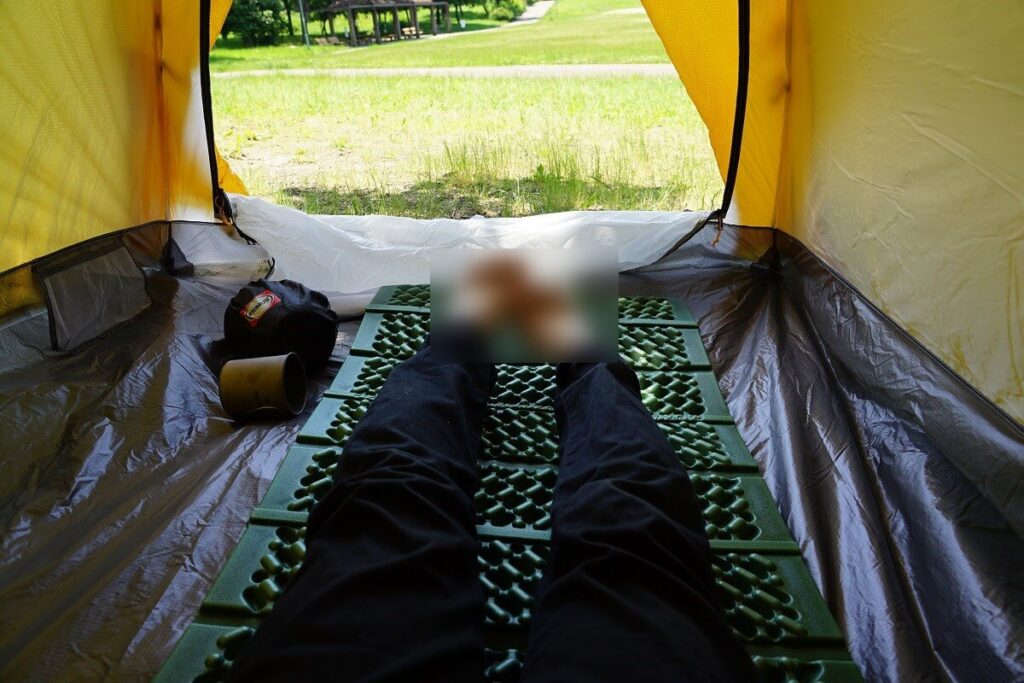
ステラリッジテント2の内部は、一人であれば広々とした空間となるのは間違いないでしょう。
マットを引いても左右に空間があり、荷物を置いたり調理したりすることが出来ます。
ゆるる二人使用だと若干狭いかもしれませんね。
もちろん、上部には複数のフックがあります。そのためカラビナなどを引っ掛ければランタン等を吊り下げることも可能です。
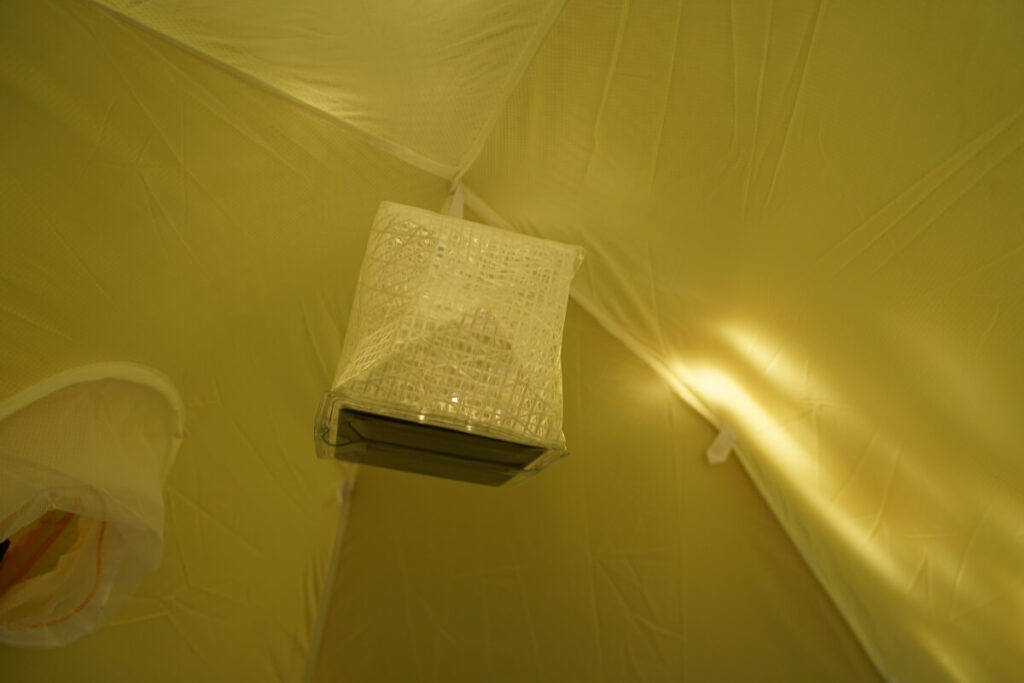
画像のランタンはキャリー・ザ・サンというランタンです。レビュー記事は以下になります!
モンベルのステラリッジまとめ
- 超軽量でコンパクトなテントが欲しい!という方
- 風に強いテントが欲しいという方
- ソロでテントを設営したいという方
ソロでテントをしたいという方にはピッタリのテントだと思います。是非、参考にして頂けると幸いです。
ステラリッジテント2は何度かマイナーチェンジをしているので、テント本体とレインフライの組み合わせには注意しましょう!(中古品や型落ち品でなければ心配無しです。)